
Photos prove the work: the rusted coil before, the clean install after, the data plate for the warranty claim. Every photo on a job gets a category, so before-and-after shots are easy to find later and show up neatly on the customer's service report.
Photo categories
| Category | Use it for |
|---|---|
| Before | The equipment or problem as the tech found it |
| After | The finished work |
| Data plate | Model and serial number plates |
| Damage | Pre-existing damage or anything worth documenting |
| Other | Everything else |
Take photos in the field
Techs take and categorize photos from the job in the mobile app. See Taking photos and video on mobile.
Add or review photos from the office
Open the Photos tab
Open the job, scroll down to the tabs and click Photos. The tab shows how many photos and videos the job has.
Click Add
Pick photos (up to 10 MB each) or videos (up to 200 MB) from your computer, or drop them onto the tab.
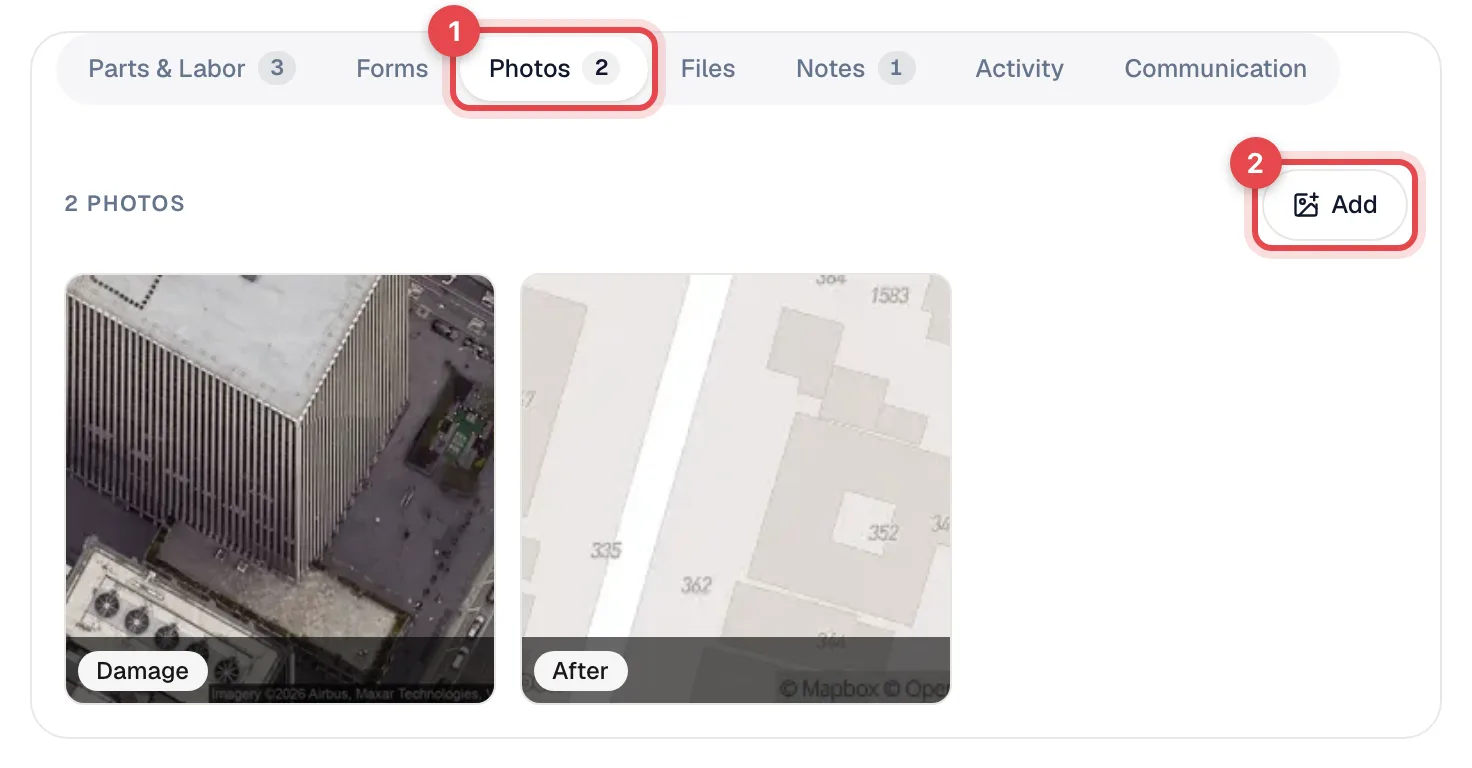
Set the category for each one
A dialog titled, for example, Add 3 photos lists the files. Choose a category for each photo — they start as Before — and add a caption if it helps. Then upload them.
To change a photo's category or caption later, open it and choose Edit photo. You can also rotate, reorder and delete photos.
Where job photos show up
- Service report — photos print in the report's Photos section, so the customer sees them when you send it. See Printing and emailing a service report.
- Customer project page — the page doesn't show a photo gallery, but the customer can download the service report there, photos included. See The customer project page.
- The job's Photos tab in the office and the mobile app.
Job photos are meant to be shared with the customer. For anything you don't want them to see, write an internal note instead.
Making photos part of the job
Run a Call doesn't stop a tech from completing a job without photos. To make sure they get taken:
- Build a form with photo steps. In Pricebook → Forms, add items of type Photo — for example Before: outdoor unit and After: outdoor unit — and turn on Required for the ones that matter. See Job checklists and forms.
- Attach the form to the job. Pick it under More options → Forms when you create the job.
- The tech sees what's missing. In the app, the job shows how many required form items are still open, and the form can't be marked done until every required photo is taken.
Then check the job's Forms and Photos tabs before you invoice.