
A job already knows the customer, the property and the parts and labor, so you never have to type them twice. From any job you can bill the work with an invoice, or quote extra work with an estimate that feeds back into the same job when it's approved.
Create an invoice from a job
Use this to bill the work on the job.
Open the job and click Create invoice
Create invoice is in the top-right corner and in the status card. It shows on jobs that are Scheduled (to bill up front, like a deposit) or Completed, and that don't have an invoice yet.
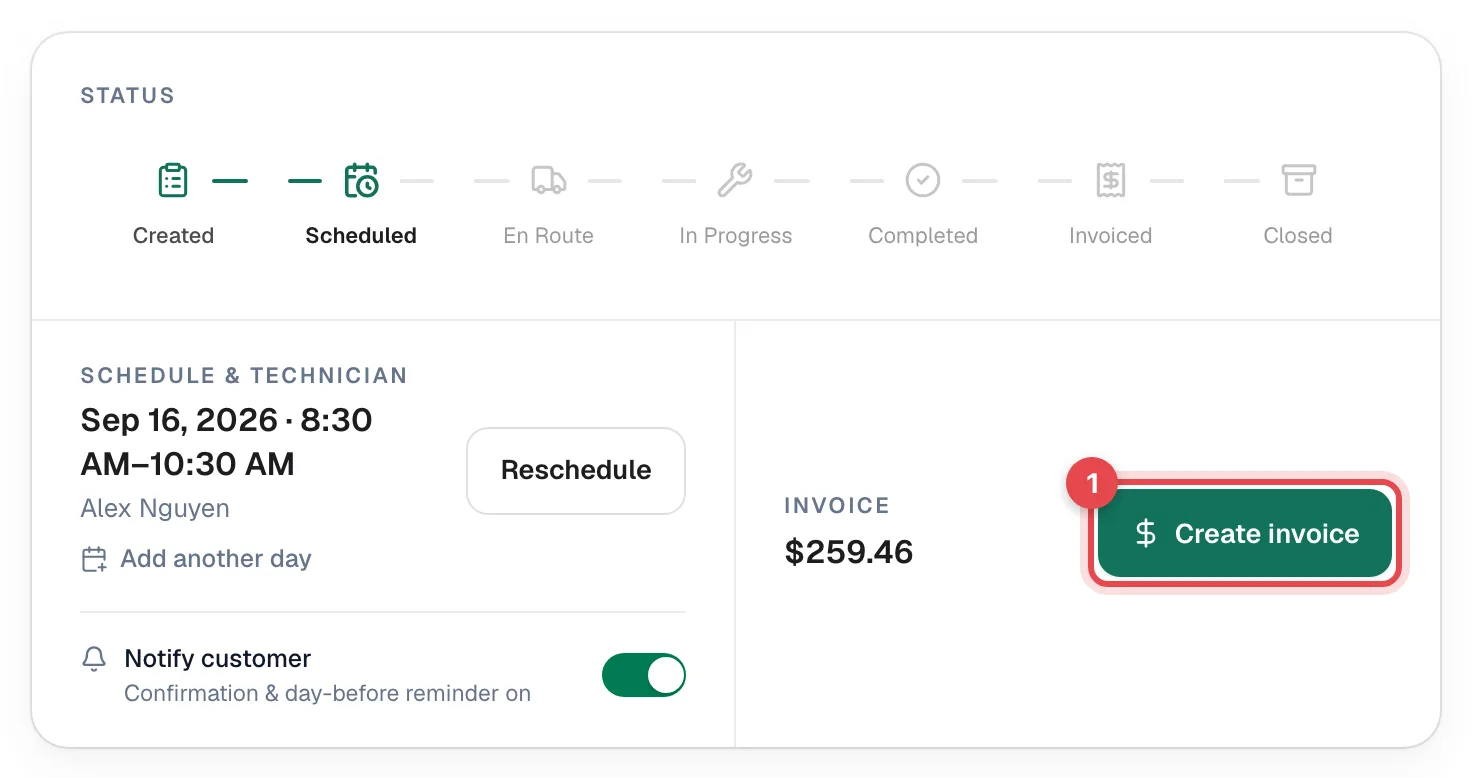
If the job has no parts or labor yet, the button reads Add line items. It opens Add parts and labor for this job so you can add them, then Save & create invoice.
Review and generate
The Create invoice from this job dialog pulls every line item on the job into a draft invoice. Check the preview and the Payment terms (your company default is filled in), then click Generate invoice.
Send it
The new draft invoice opens. Review it and send it to the customer. See How to create and send an invoice.
What happens to the job
- A Completed job moves to Invoiced, and closes on its own once the invoice is paid in full.
- The job page now shows Invoice #… in place of Create invoice, and View invoice in the status card.
- Once the invoice has been sent, the job's parts and labor are locked. Make changes on the invoice.
One job has one invoice. You can't create a second one while the first is live. If you need to start over, void the invoice (with nothing paid on it) and Create invoice comes back. Jobs sold with a payment schedule bill through their scheduled payments instead.
You can't invoice while a tech is on the way or on site — complete the job first.
Create an estimate from a job
Use this when the tech finds more work — a failing blower motor, a system replacement — that the customer needs to approve first.
- Open the job and click ⋯ in the top-right corner.
- Choose Create estimate for this job.
- The estimate form opens with the customer and property already picked, and a note: Quoting against [job]. When the customer approves, the work is added to that job instead of creating a new one.
- Add the options and line items, then send the estimate. See How to create and send an estimate.
When the customer approves, the approved work lands on the same job — no duplicate job to clean up.
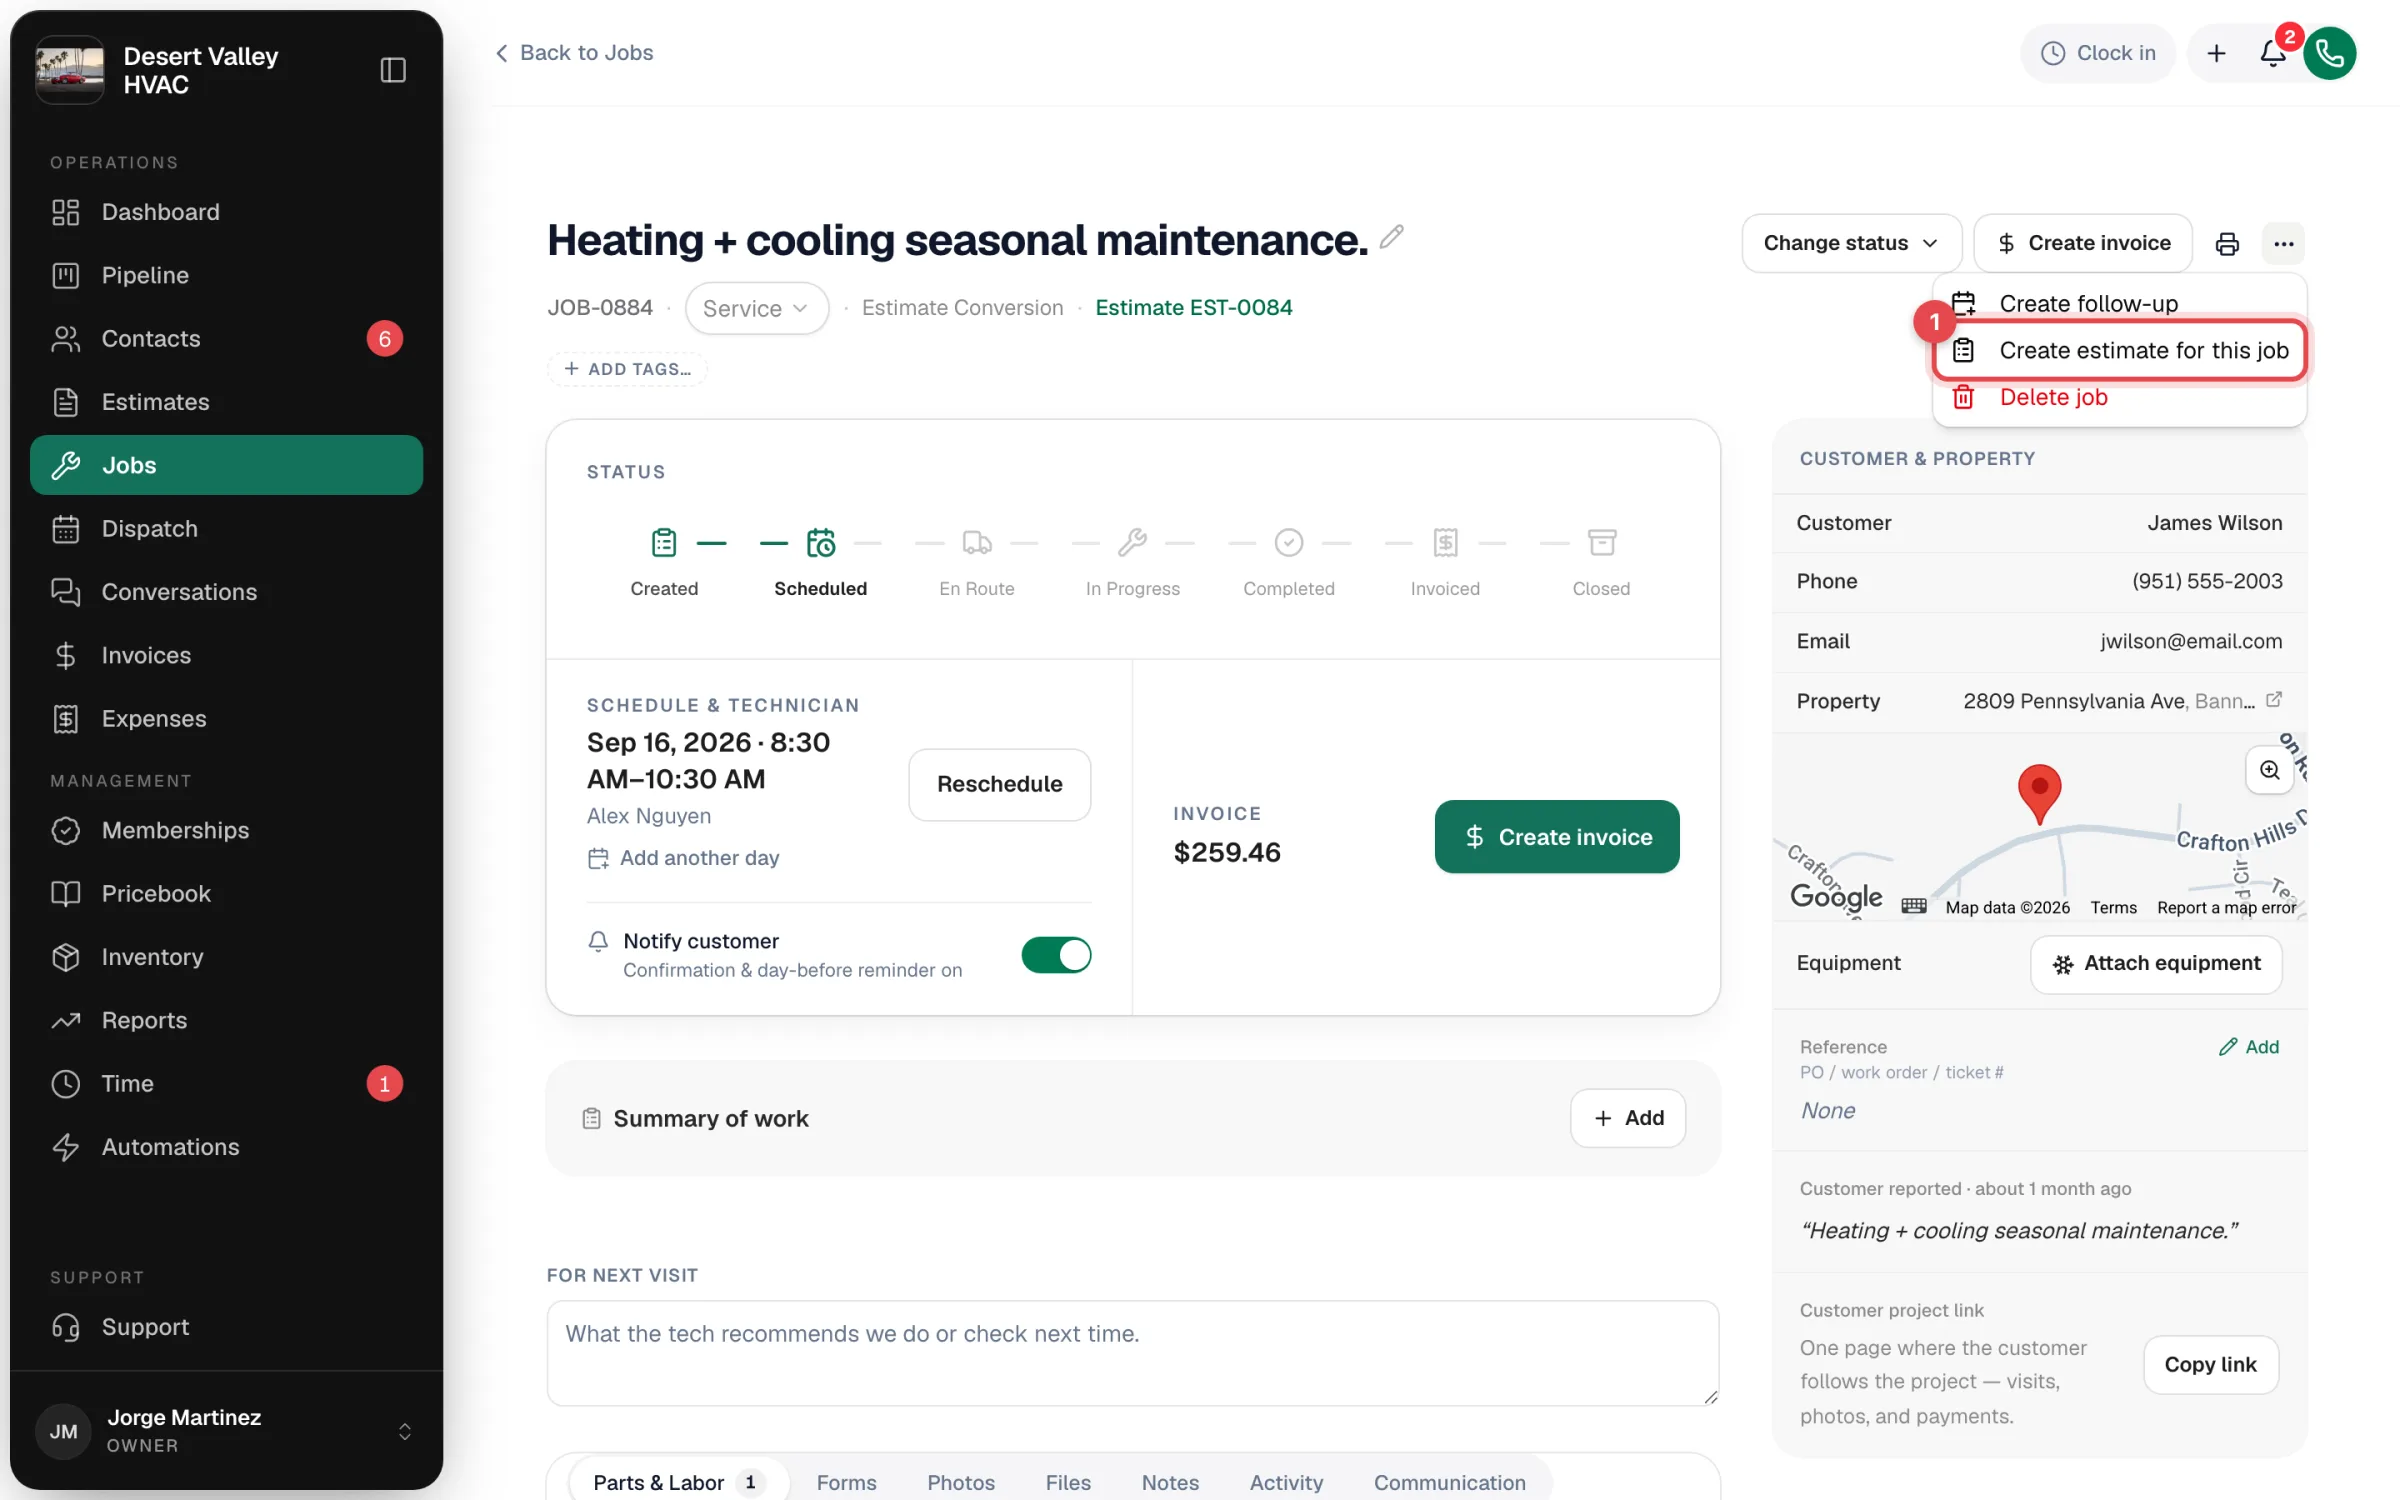
Create estimate for this job isn't offered once the job has a live invoice, or when it's Invoiced, Closed or Cancelled. For those, create a new estimate from Estimates.
In the field
Techs can build and present estimates and invoices from the job in the mobile app. See Building and presenting estimates on mobile and Creating and sending invoices on mobile.
Which one to use
| The customer… | Use |
|---|---|
| Agreed to the work and it's done (or you're taking a deposit) | Invoice |
| Needs to see a price and approve before you do the work | Estimate |
| Needs a separate return visit for approved work | Estimate, then schedule the visit — or a follow-up job |