
Business units group your technicians into crews like Service, Install, or Sales. On the dispatch board, each unit's people are shown together, so a dispatcher planning installs isn't scrolling past the service techs.
Who can do this: owners and admins, from Settings → Team → Business units.
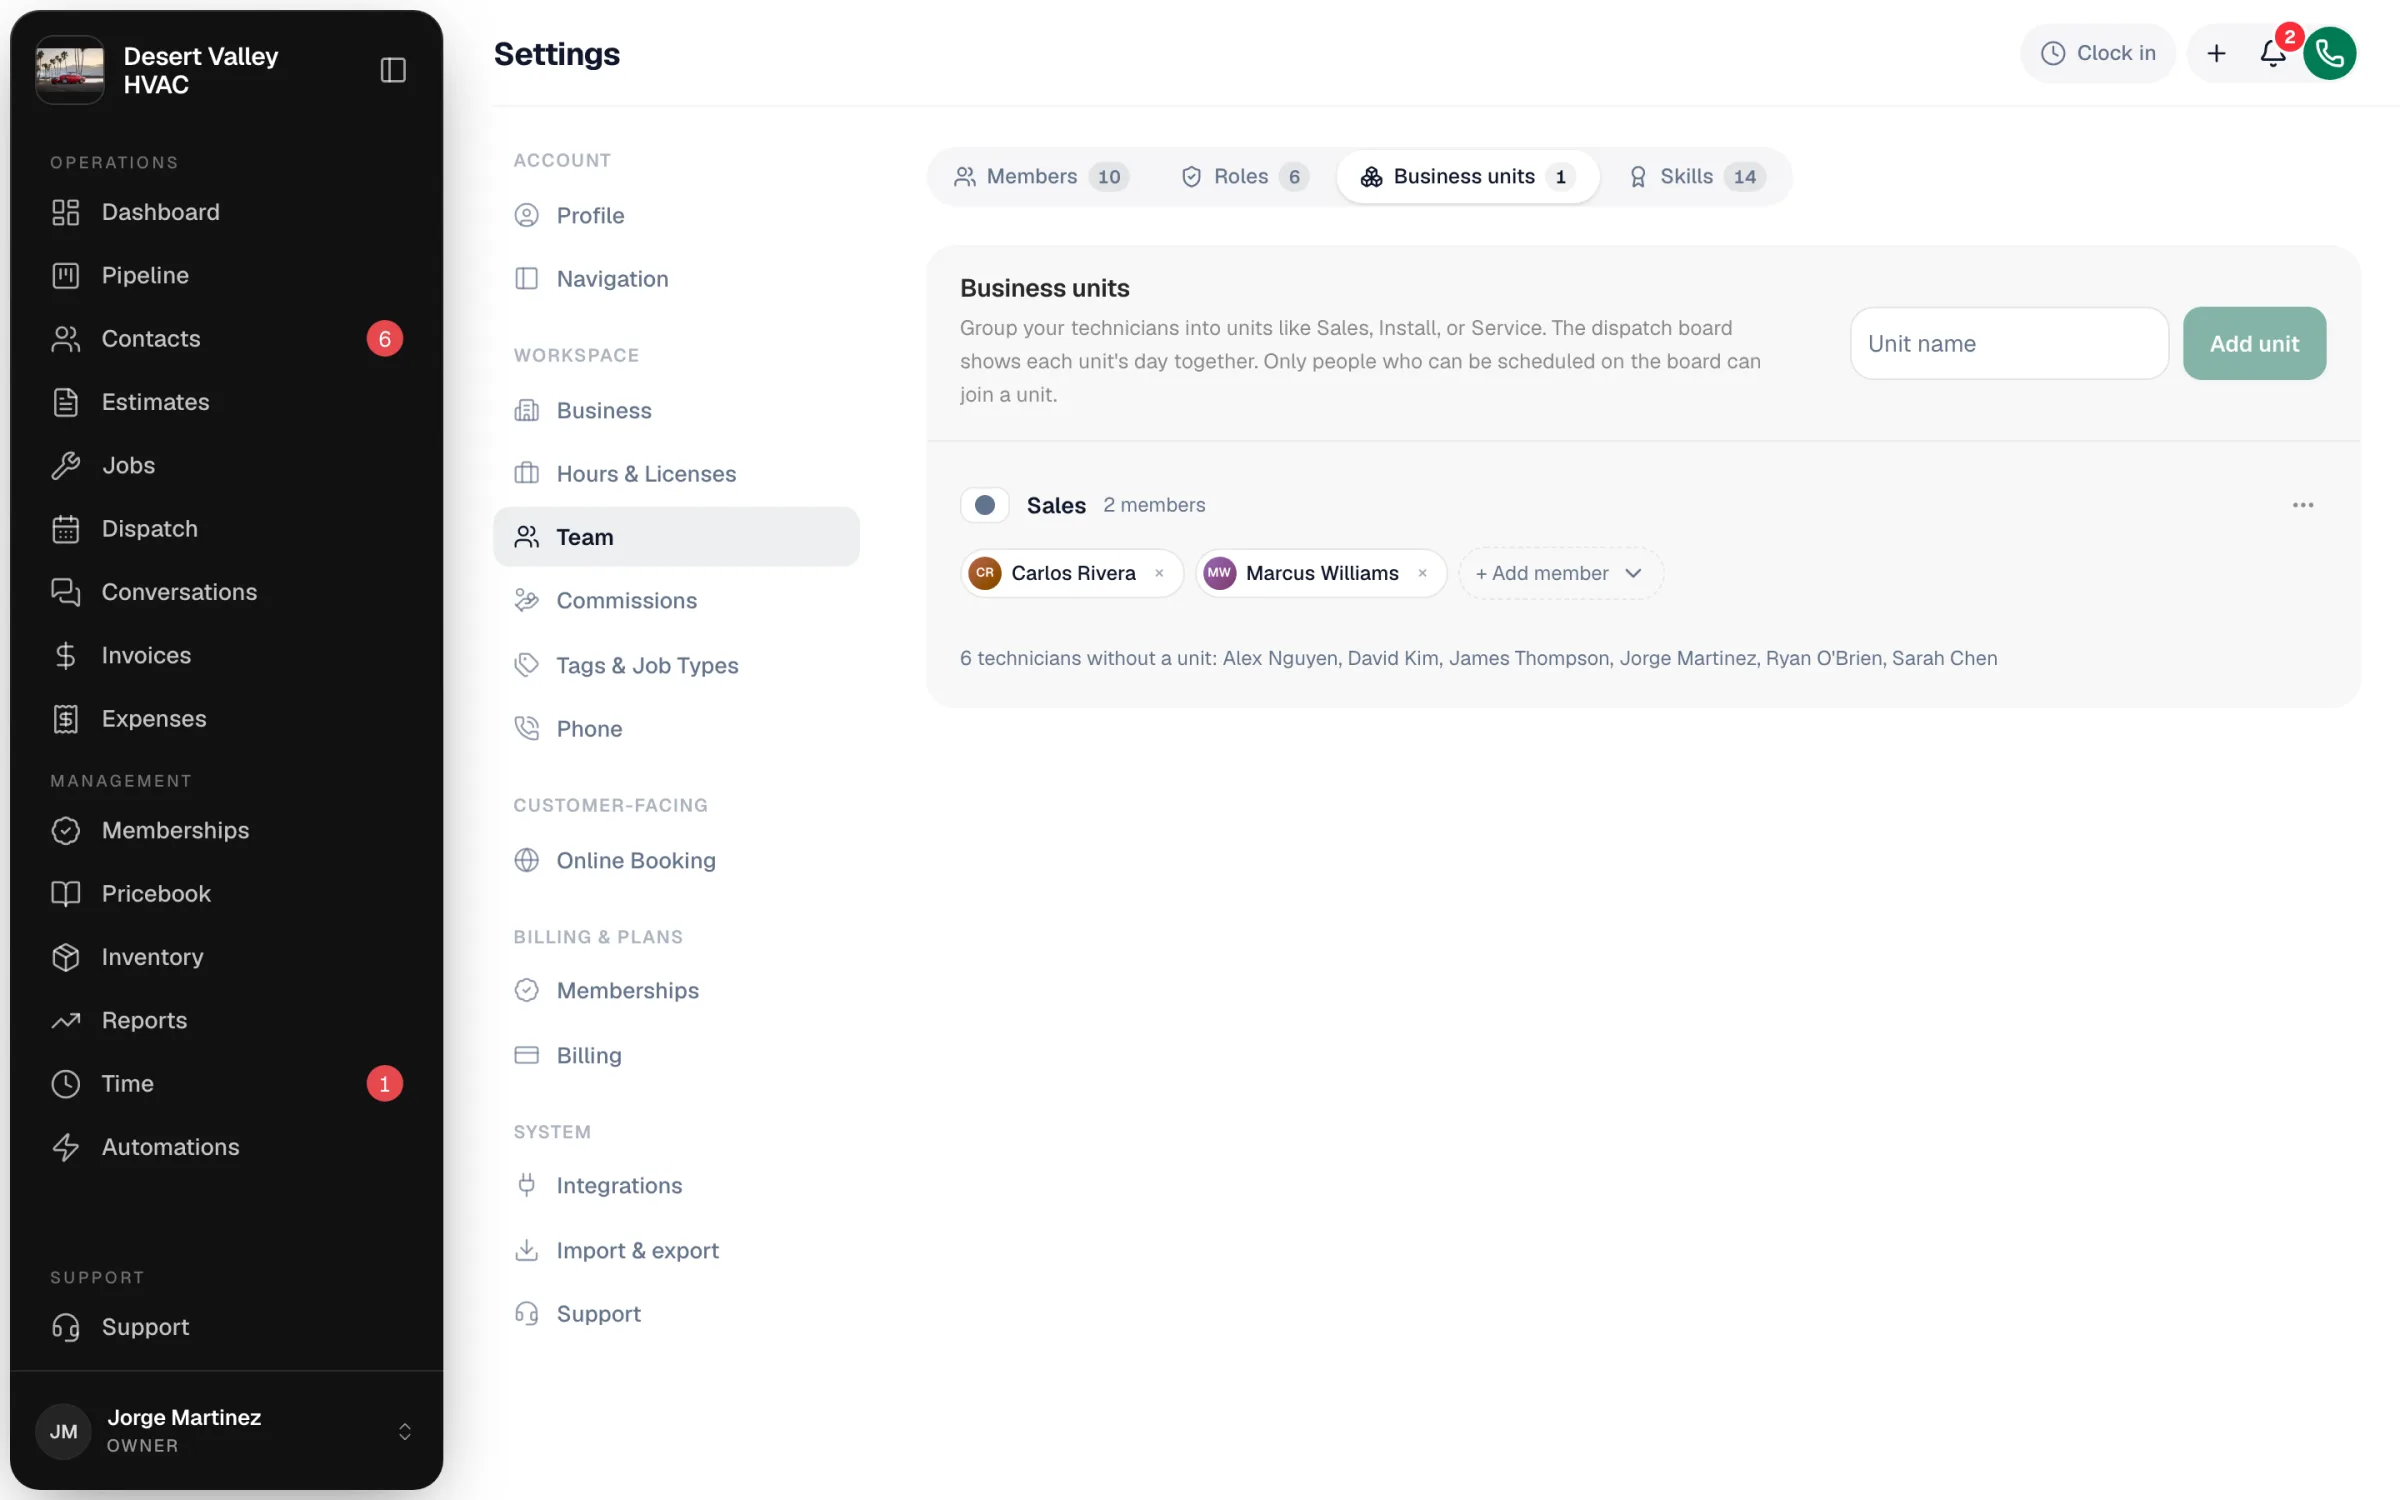
Create a unit
Type a name in the Unit name box (for example Install) and click Add unit.
Add people to it
On the unit's row, click + Add member and pick a person. Repeat for everyone in that crew. Each person can be in one unit at a time — adding someone who's already in another unit moves them.
Under the units you'll see who is still without a unit.
Pick a color
Click the color dot next to the unit's name and choose a color. It helps tell the groups apart on the board.
Rename, change, or delete a unit
| To | Do this |
|---|---|
| Rename | Click ⋯ → Rename on the unit, type the new name, and press Enter |
| Remove someone | Click the × on their name |
| Delete the unit | Click ⋯ → Delete unit and confirm. Its members keep working as normal; they just show under No unit on the dispatch board. |
Good to know
- Only people who can be scheduled on the dispatch board can join a unit — active members who have accepted their invite and whose role puts them on the board. Office-only staff won't appear in + Add member.
- Units only change grouping. They don't limit which jobs someone can be assigned or what they can see.