When you send an estimate, the customer gets a link. This article covers what they see on that link and what happens after they click Approve or Decline.
What the customer sees
A branded page with your logo, the line items, the total, and two large buttons: Approve & sign and Decline.
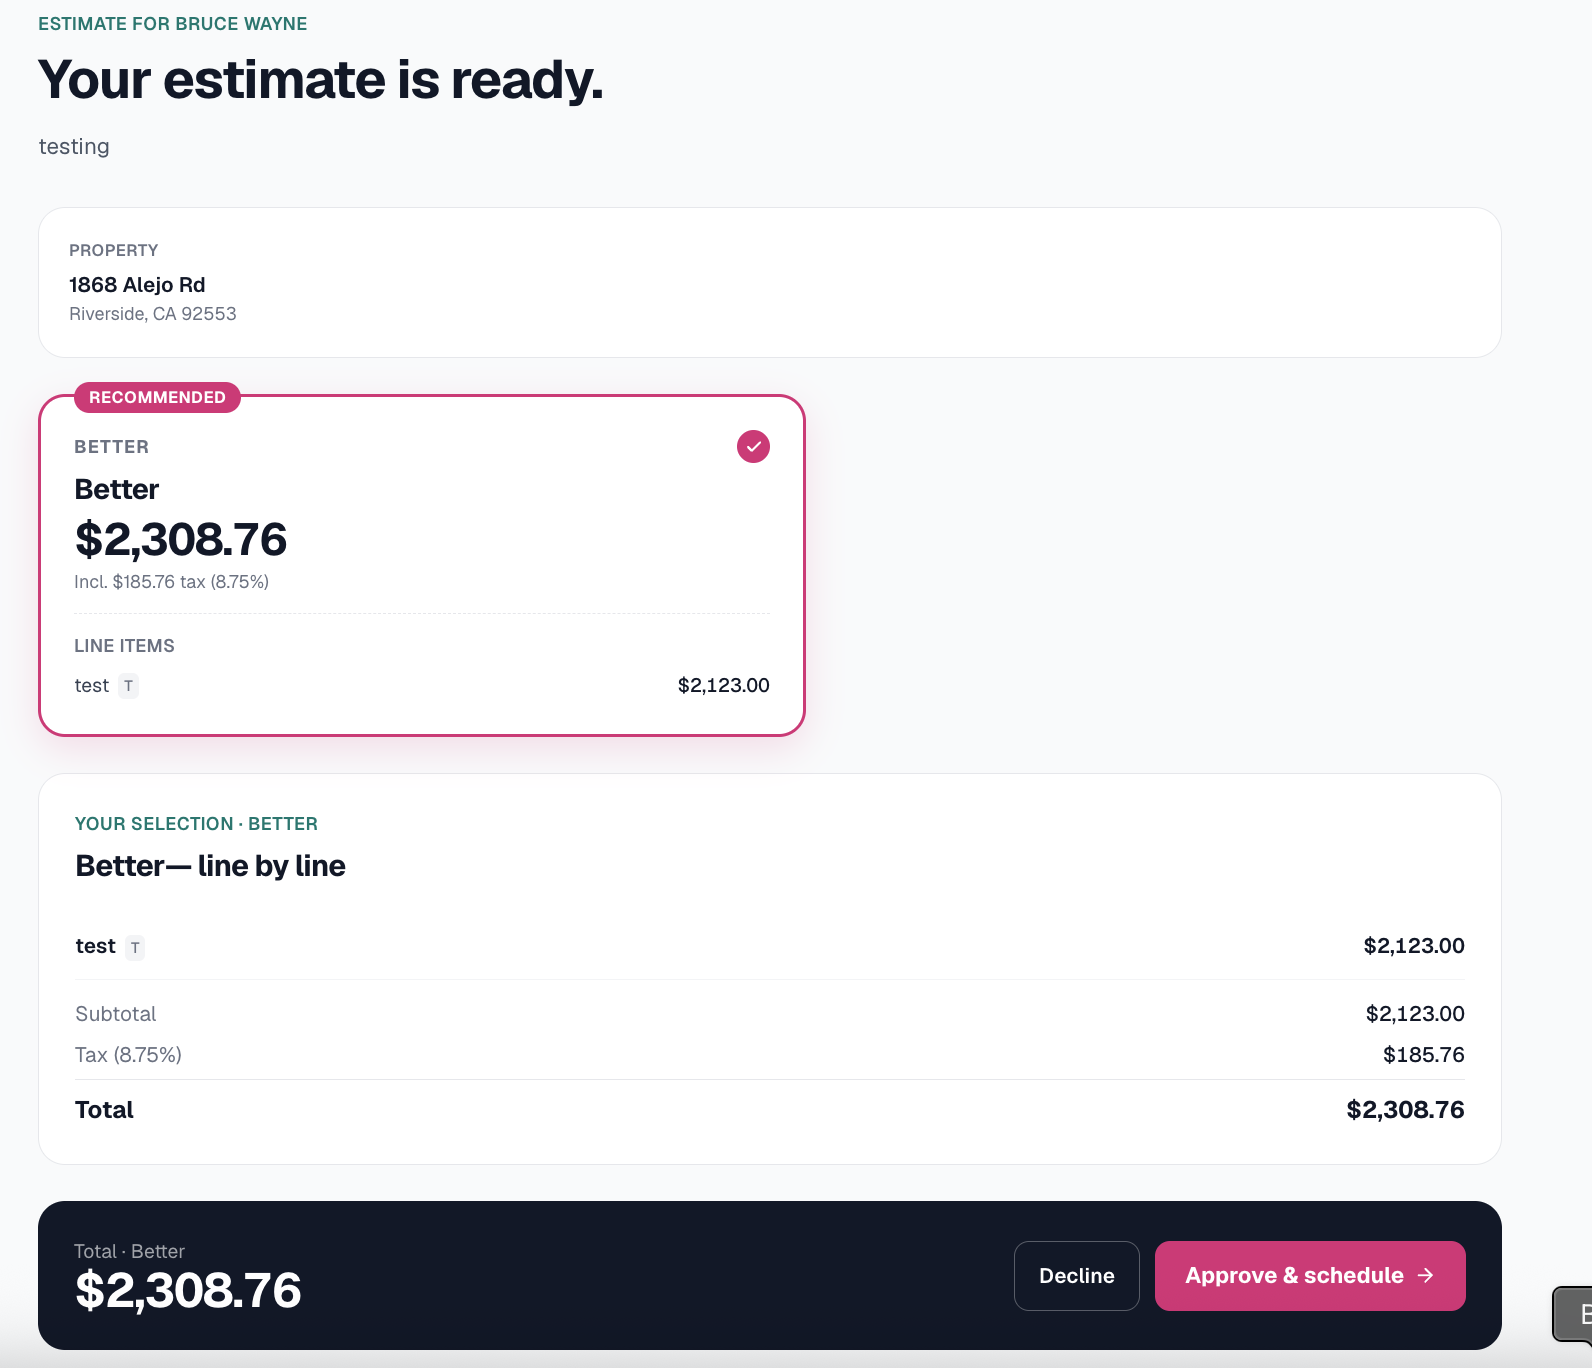
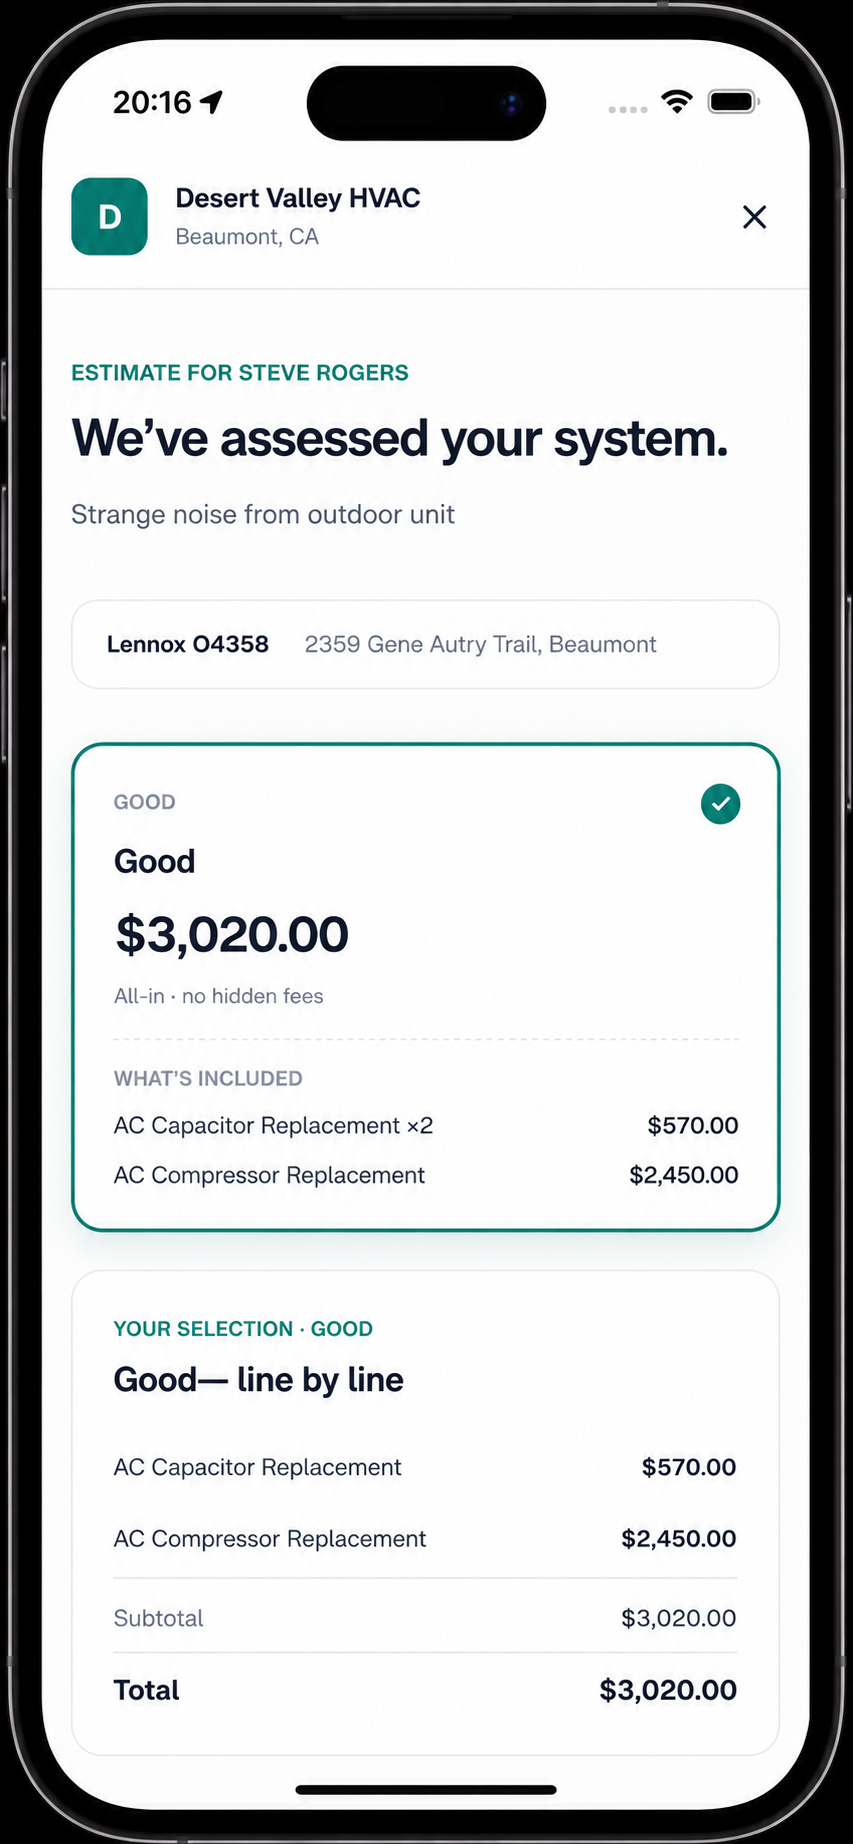
Above the buttons: any custom message you wrote (defaults to "Let us know if you have any questions").
Approving
When the customer clicks Approve & sign:
- They type their full legal name and draw their signature in the signature box.
- They click Confirm.
- They pick a time slot for the work — Tuesday morning, Wednesday afternoon, etc. (controlled by your business hours and self-scheduling setting).
- They get a confirmation email with the signed PDF.
The estimate flips to Approved with the signature, timestamp, and the requested time slot recorded. A draft job is created (if you have that setting on) and scheduled to the customer's preferred window.
Declining
When the customer clicks Decline:
- They pick a reason from your dropdown (default: Price, Timing, Going with another vendor, Other).
- They can optionally type a note.
- The estimate flips to Declined.
The decline reason and any note show on the estimate. Use the Declined report to see patterns across estimates.
What if neither happens?
You get a real-time notification when the customer views the estimate. After that:
| When | What happens |
|---|---|
| 3 days | First automated follow-up nudge (text + email). |
| 7 days | Second nudge. |
| 30 days | Estimate expires. Customer can still approve it but sees an expiry banner. |
You can change the cadence under Settings → Automations → Estimate follow-ups.
Manual reminders
You can send a manual nudge any time from the estimate page — Send reminder button. Useful when you talked to the customer and want to put it back in front of them.