
Tags are the labels your office uses to sort jobs, like "Warranty", "Callback", or "Needs quote". Techs can put those tags on a job from the app while they're there, so nobody has to do it after the fact.
Open Tags
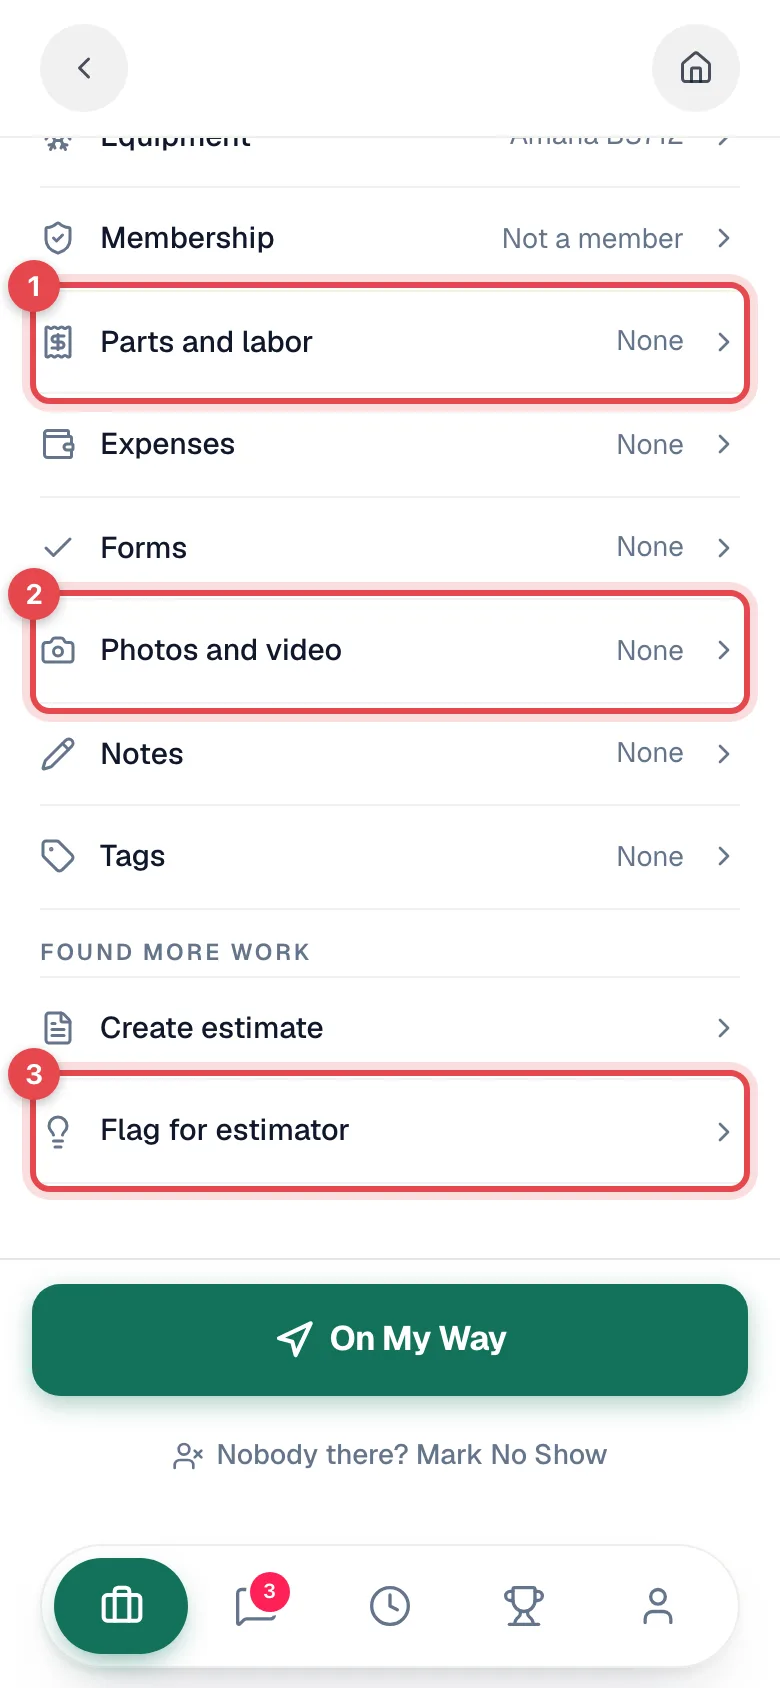
Open the job. Under This visit, tap Tags. The row shows the tags already on the job, or None.
Tap a tag
The panel lists every tag your office created, each with its color. The tags on the job show at the top.
- Tap a tag to add it. Tap it again to remove it.
- Each tap saves right away. There's no Save button.
- If your company has a lot of tags, use Search tags at the top to find one.
Go back to the job
Tap the back arrow. The Tags row now lists what you picked.
What the office sees
The same tags show on the job in the office app right away, and any job filter or automation that uses tags picks them up. There's nothing to sync.
Good to know
- Tags are created in the office, under Settings → Tags & Job Types. If the panel is empty, it says so: Tags are created from the office under Settings → Tags & job types. Techs can't create new tags from the app.
- You can tag the jobs you're assigned to. A job that isn't yours doesn't show up in your app.
- Closed jobs are read-only. Once a job is closed, cancelled, or marked no-show, the panel shows the tags but won't change them. The office can still edit them.
- Needs a signal. If a tap can't save, you'll see Couldn't save tags and the tag switches back.